
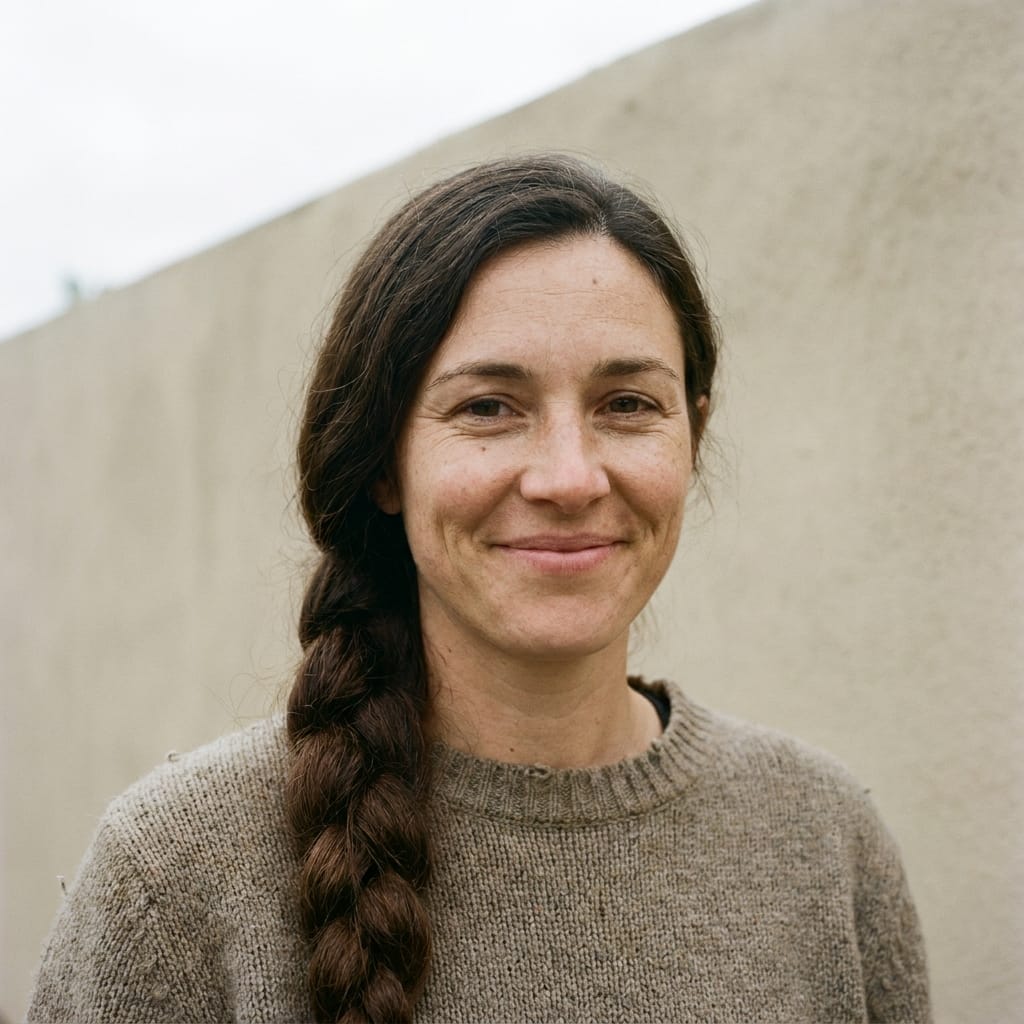
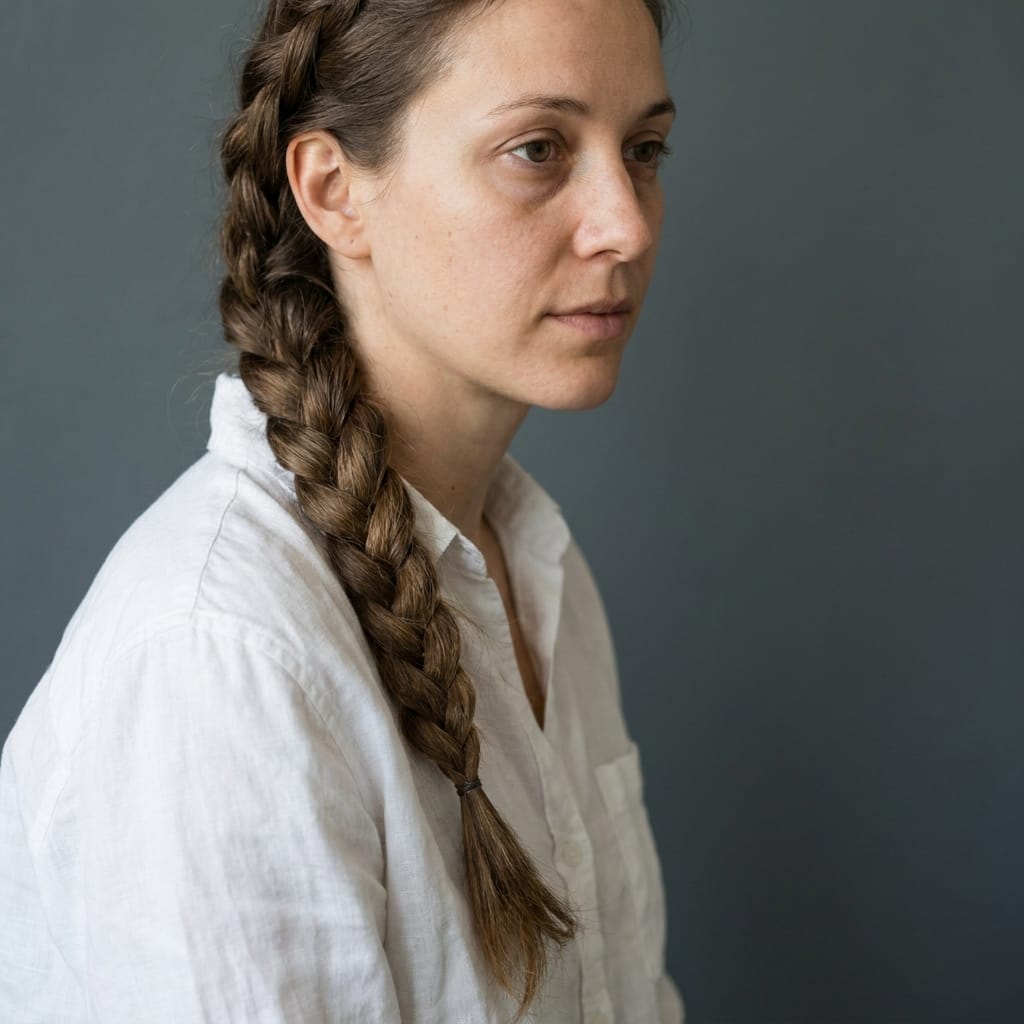

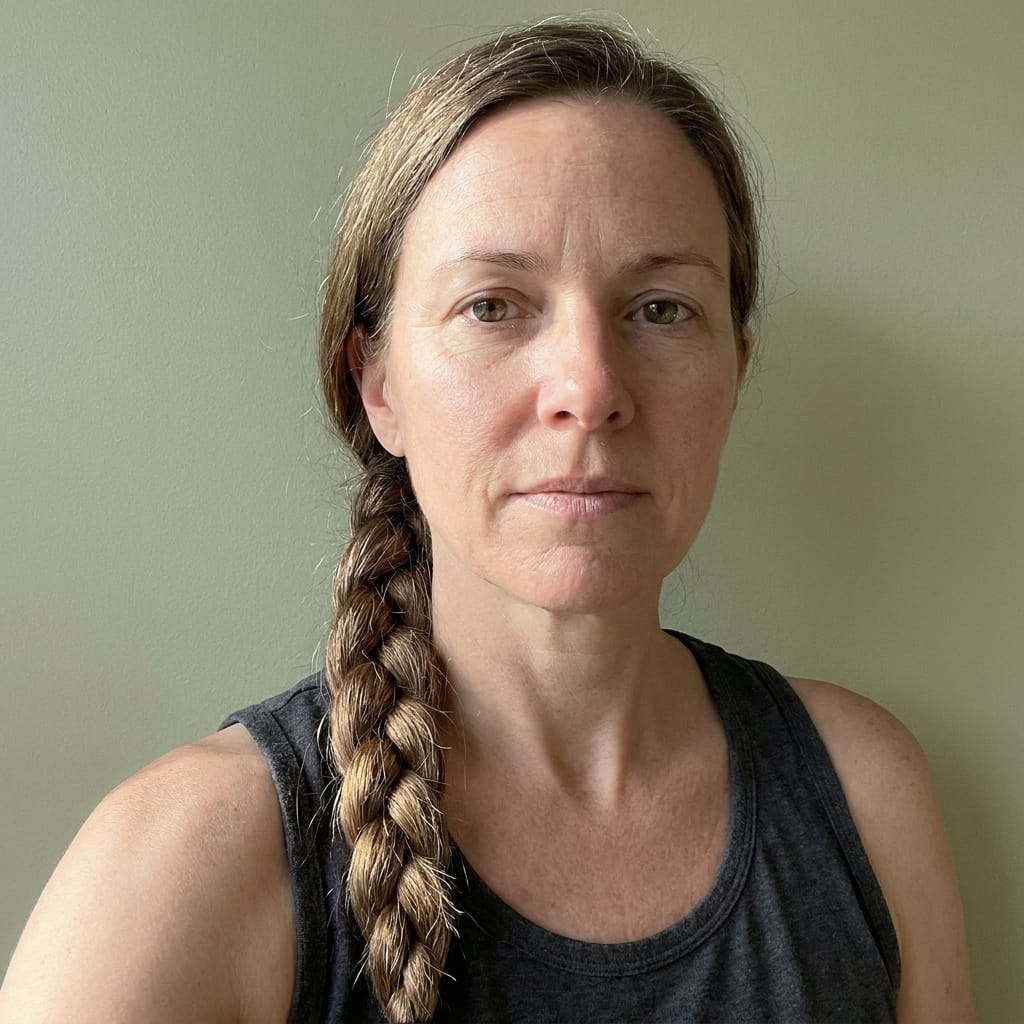
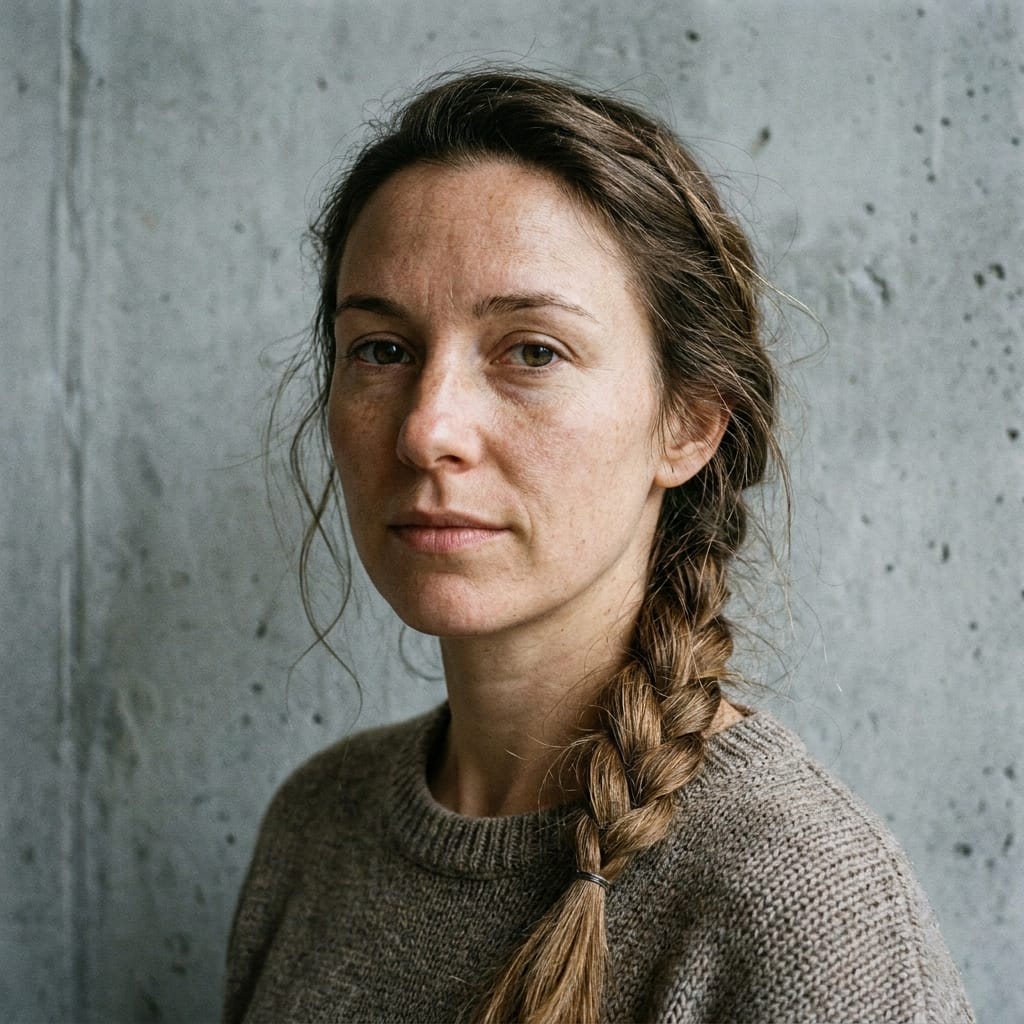
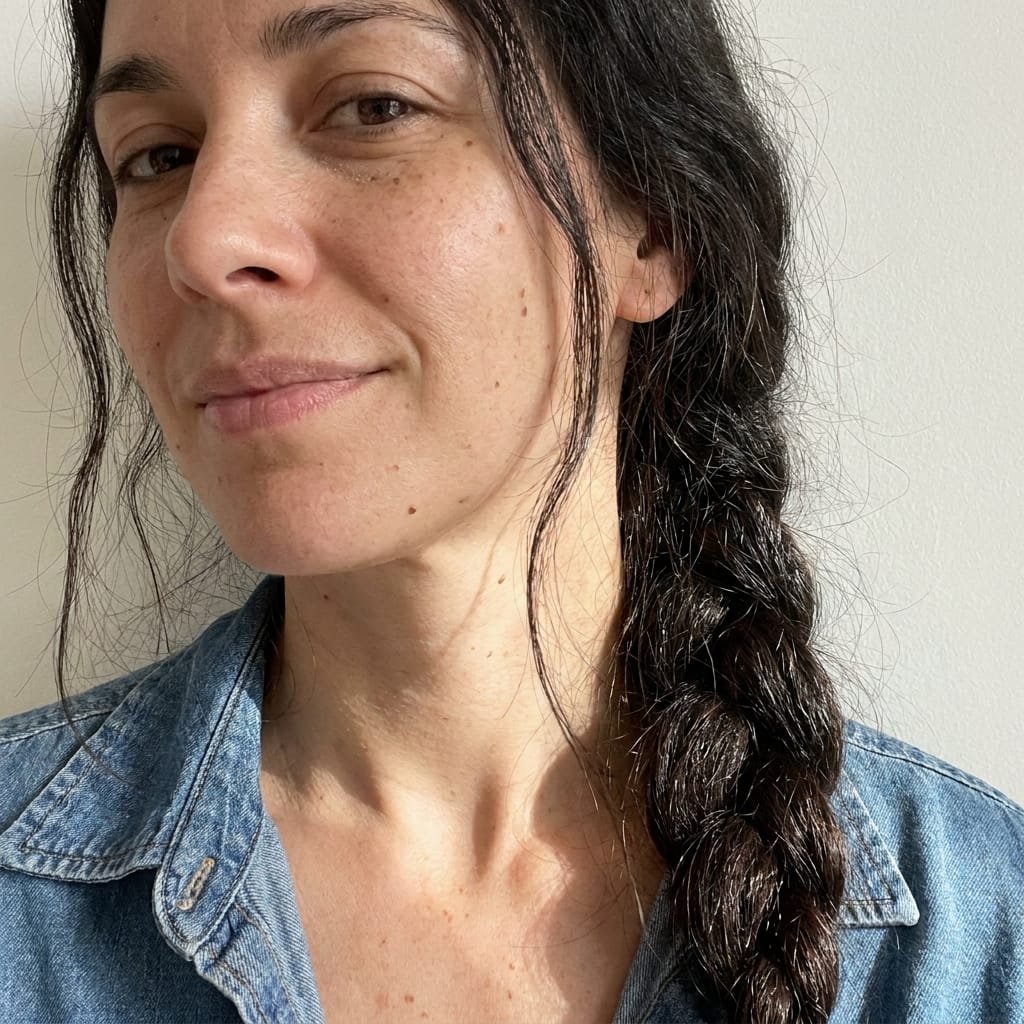
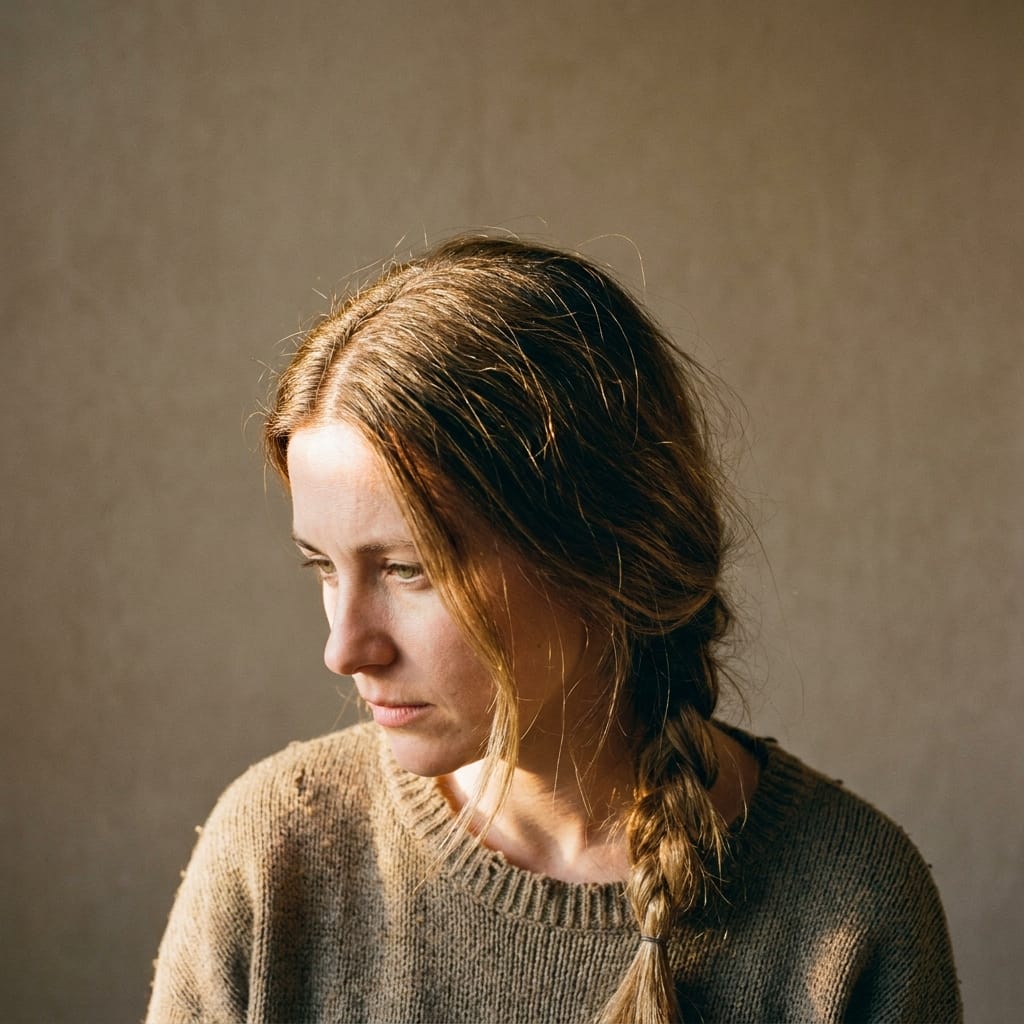
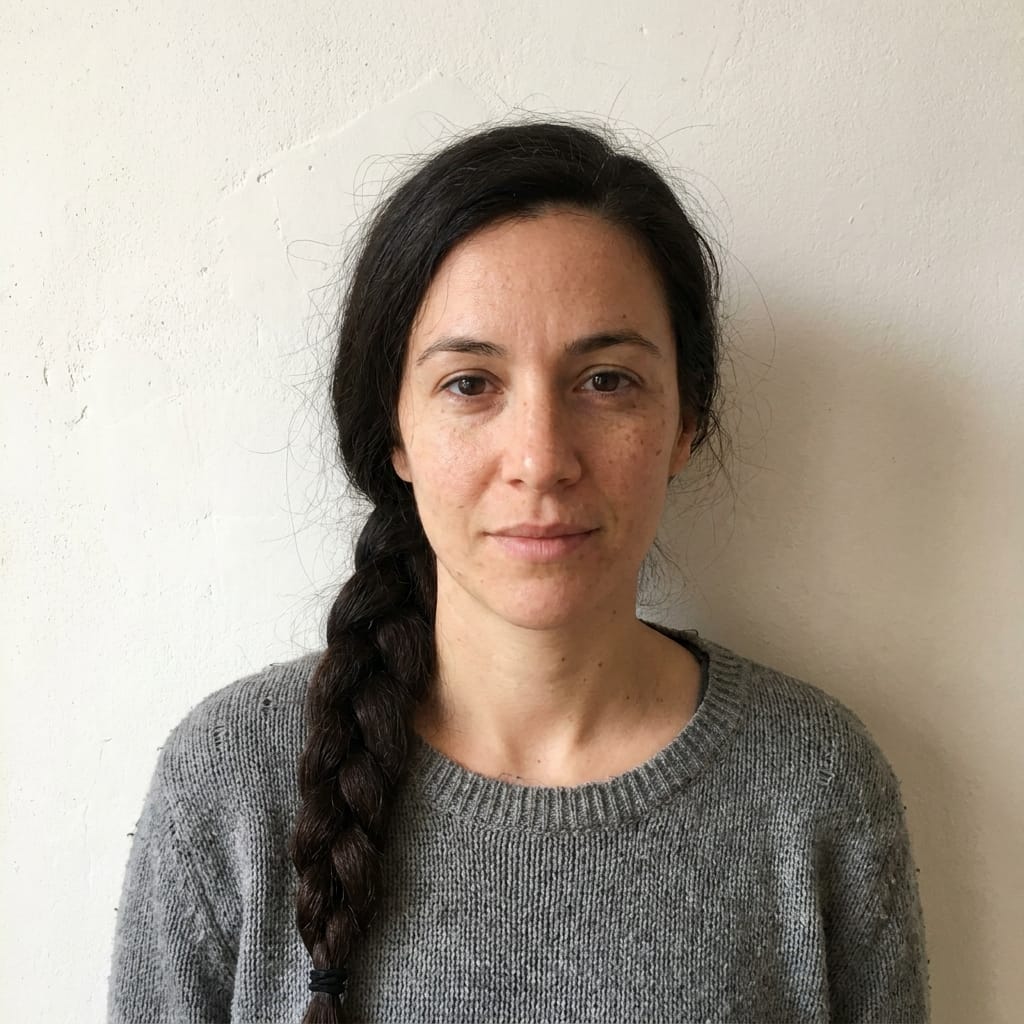
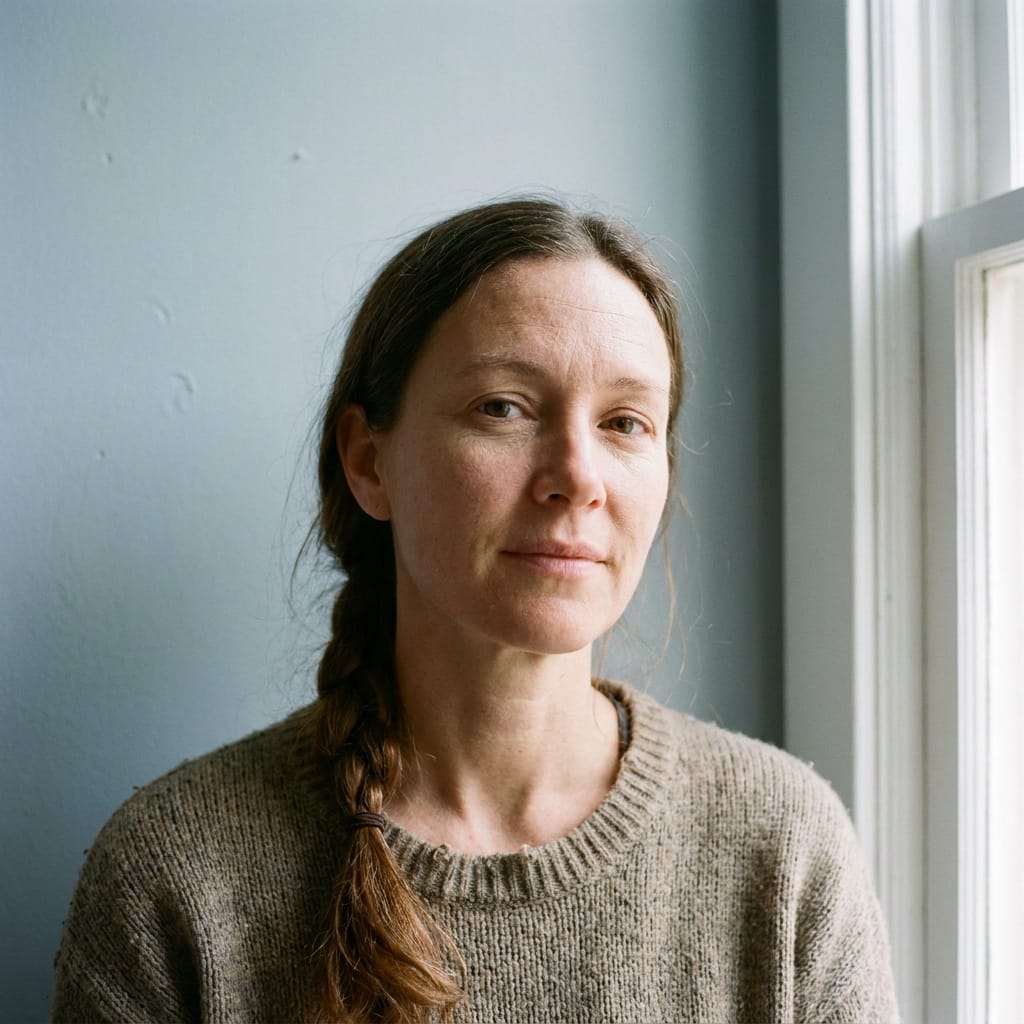
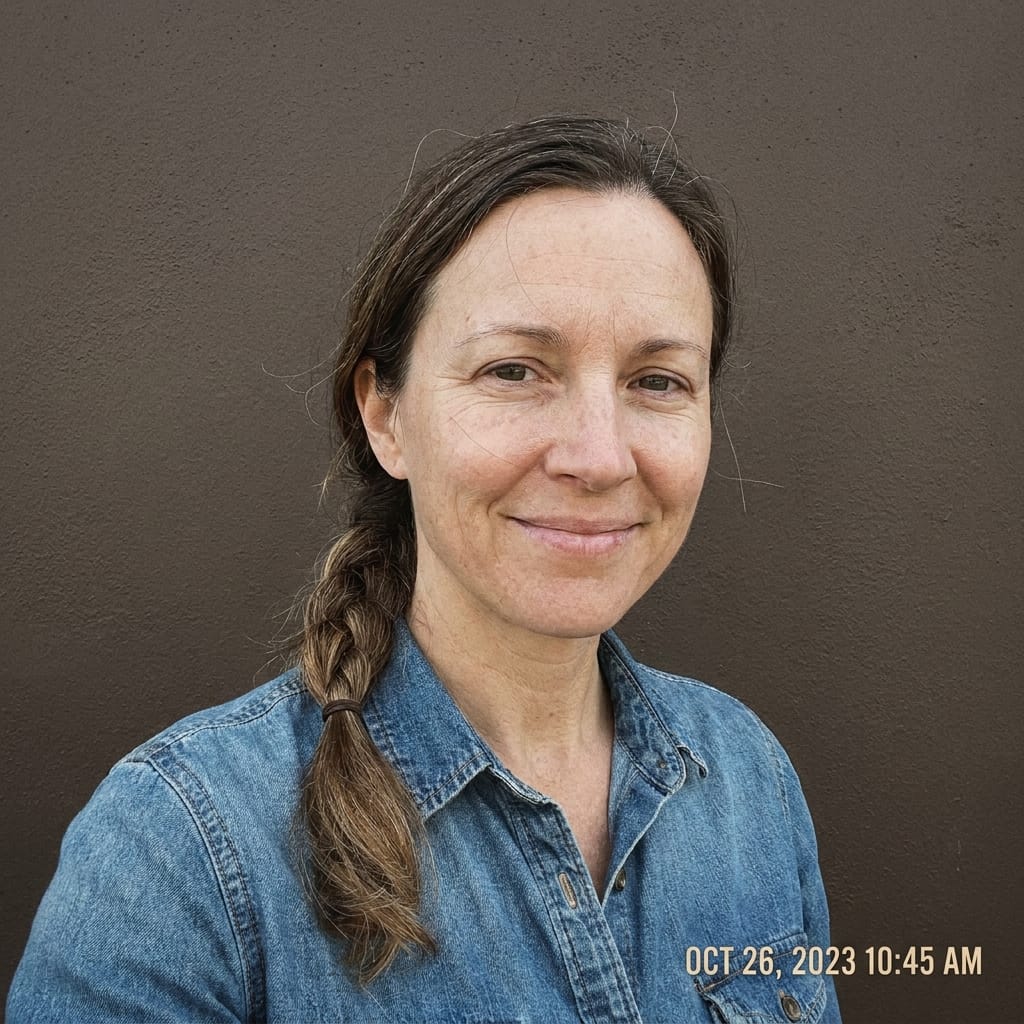

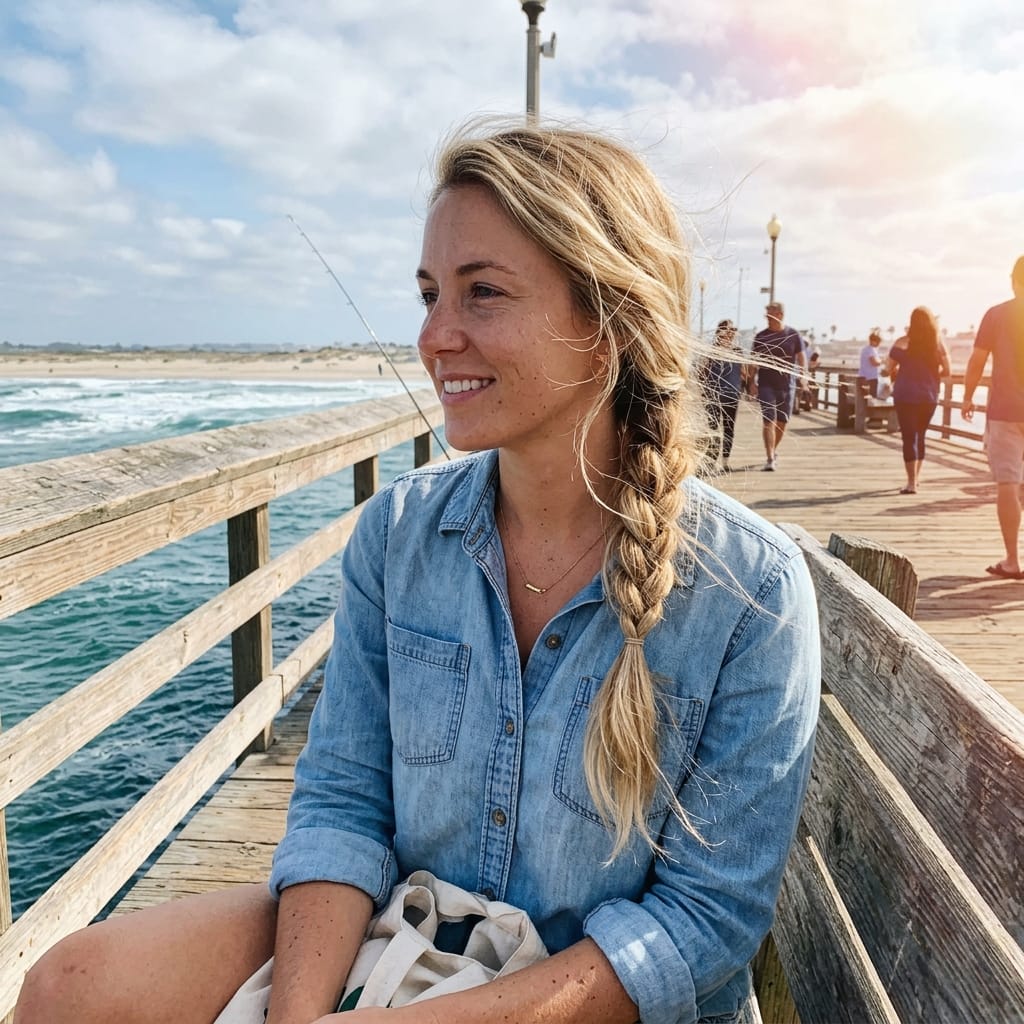


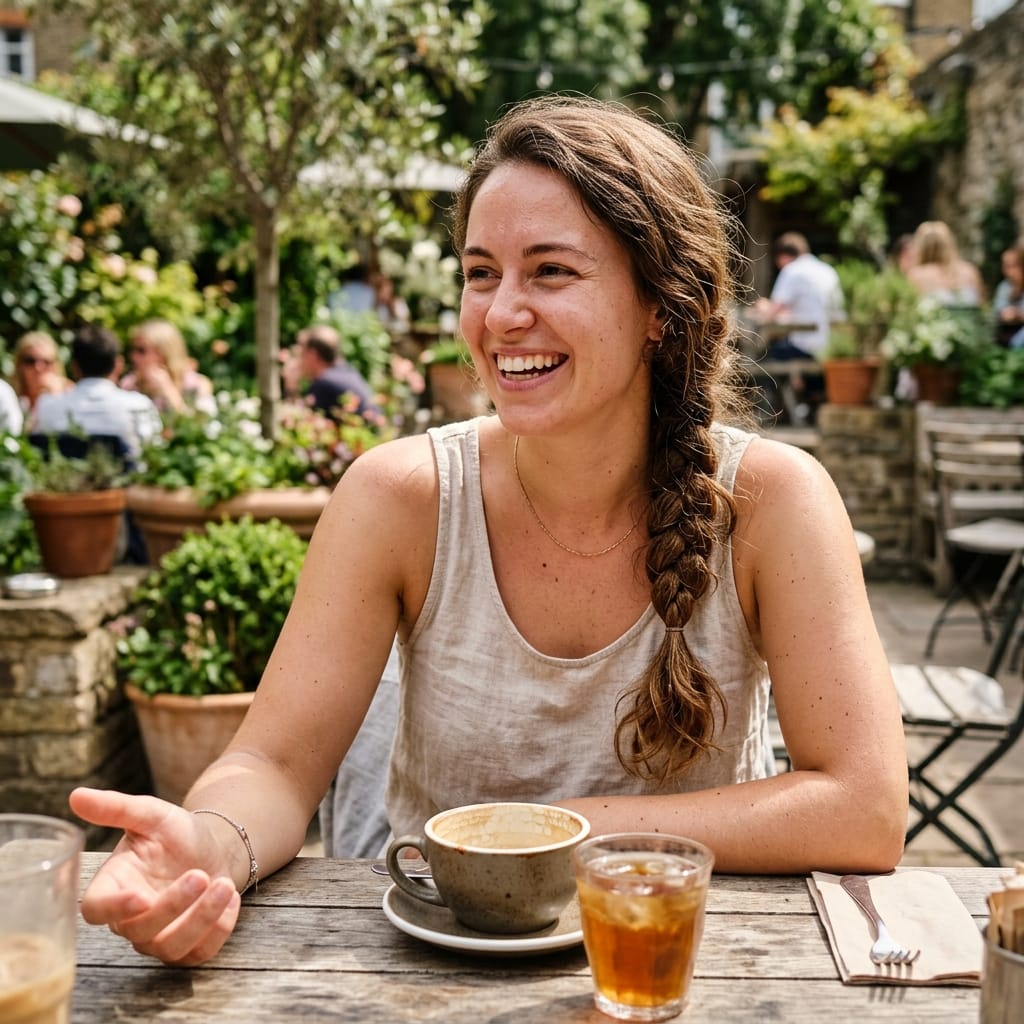
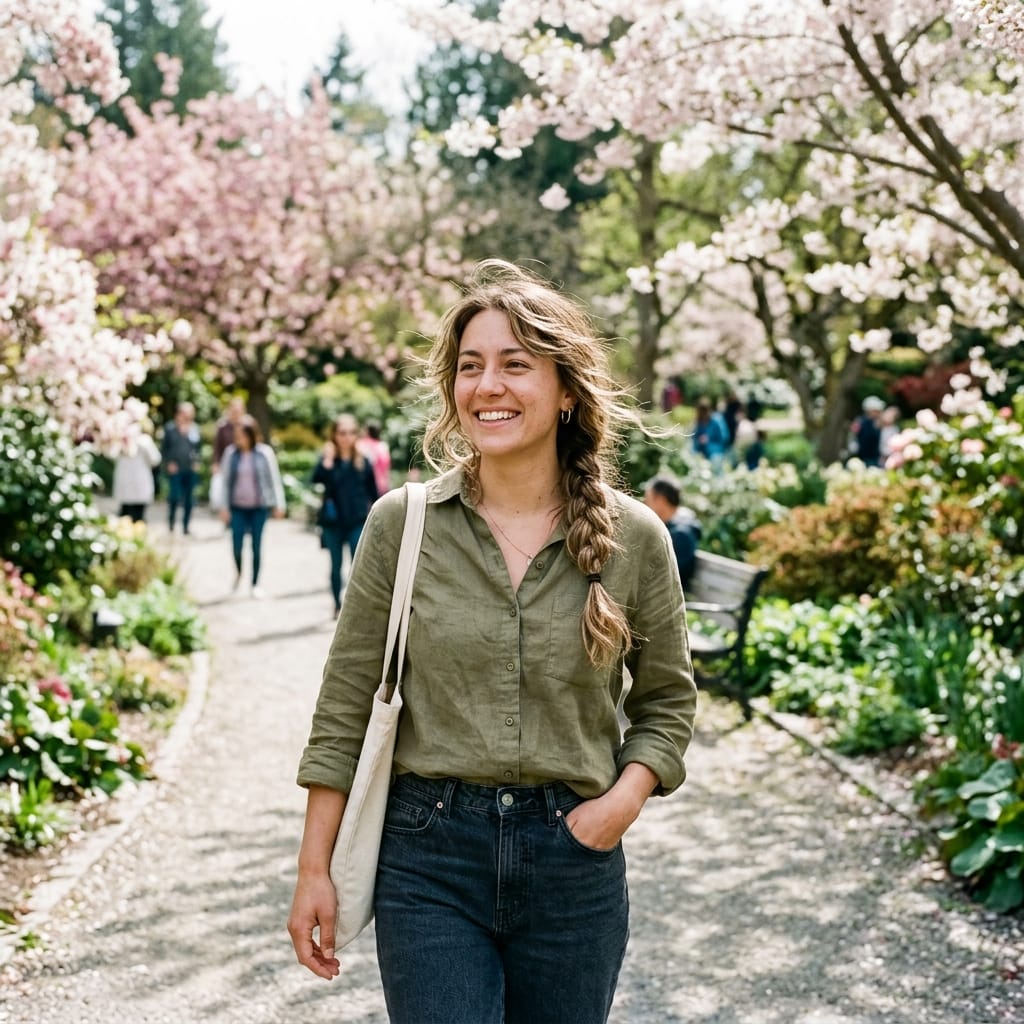
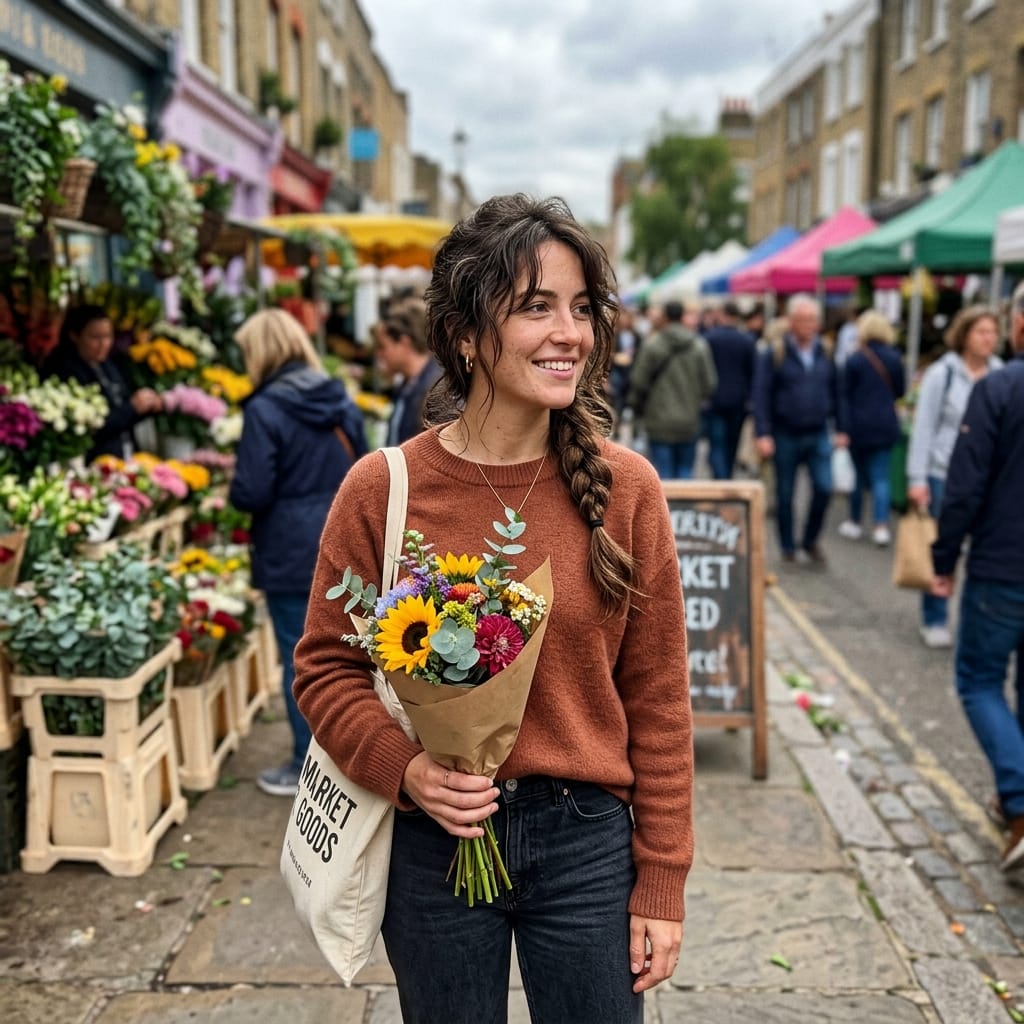
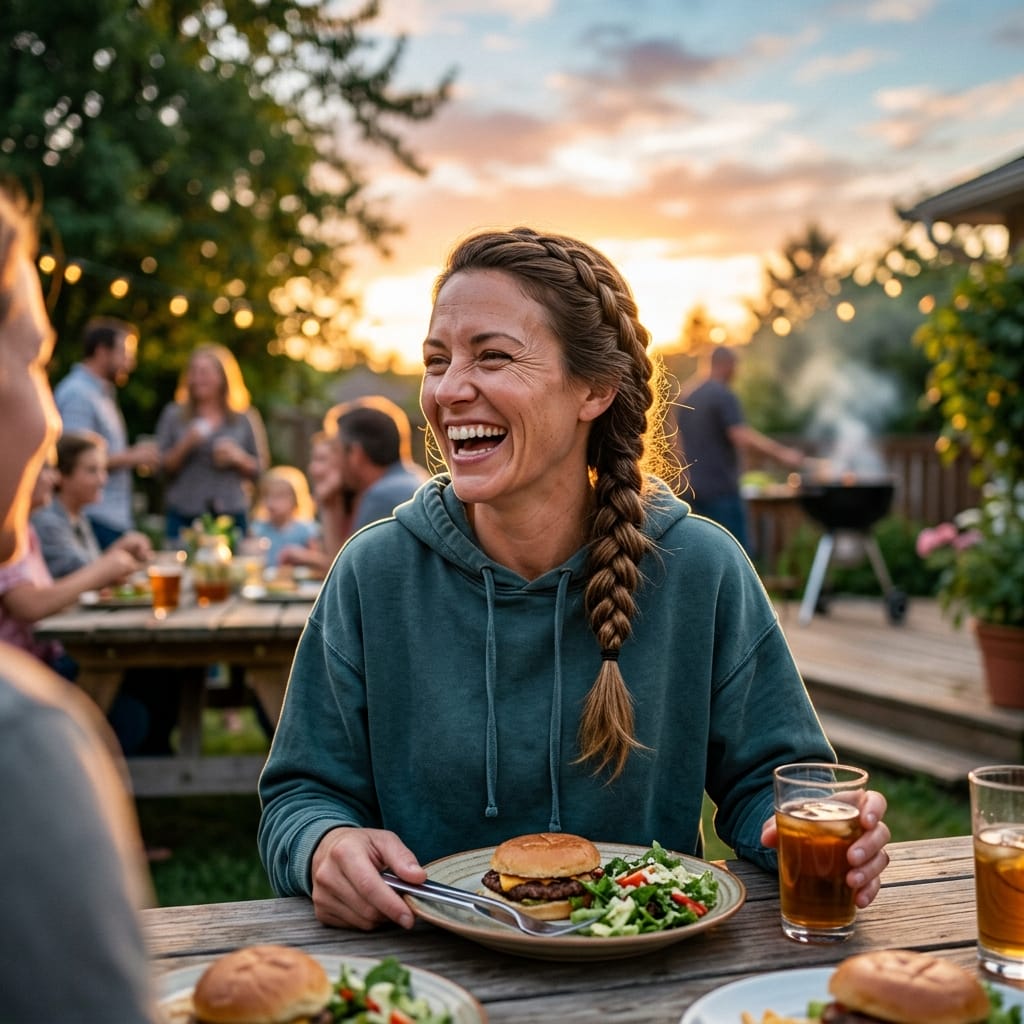
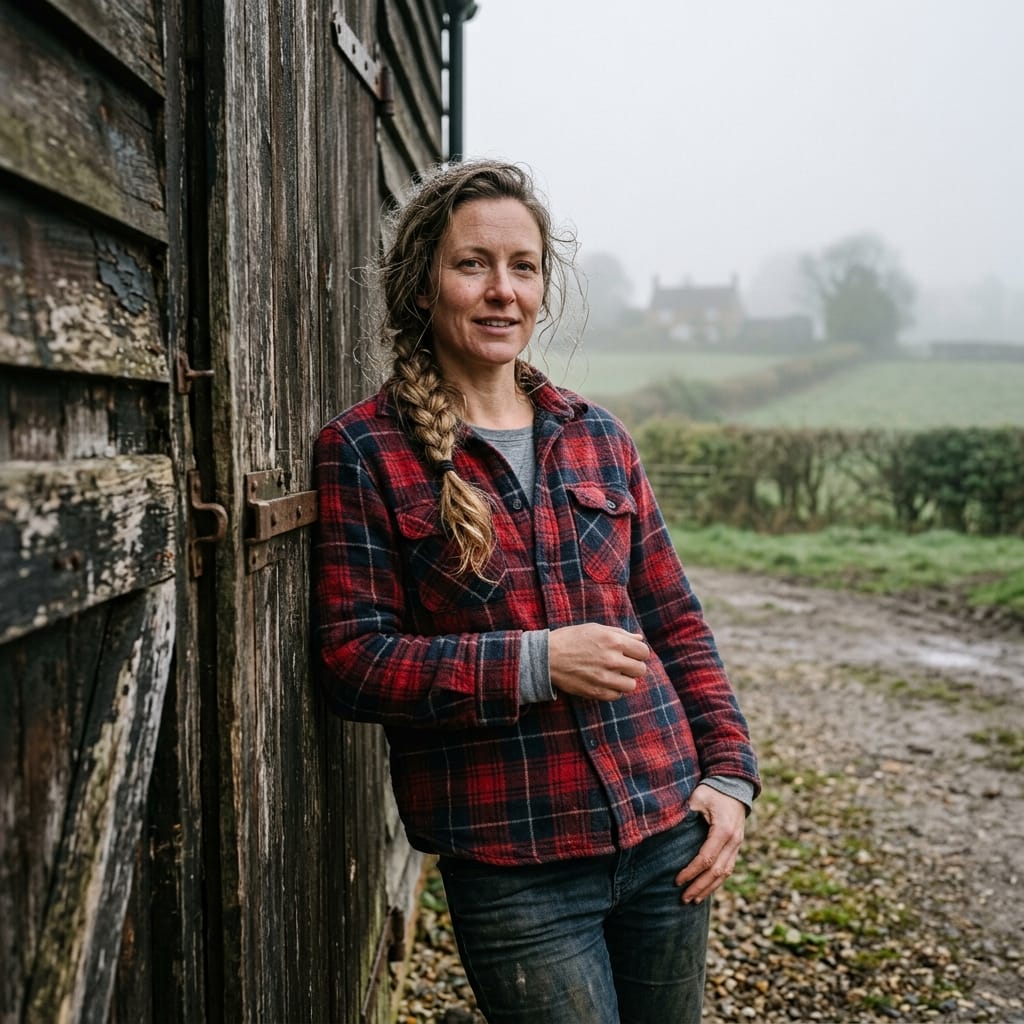



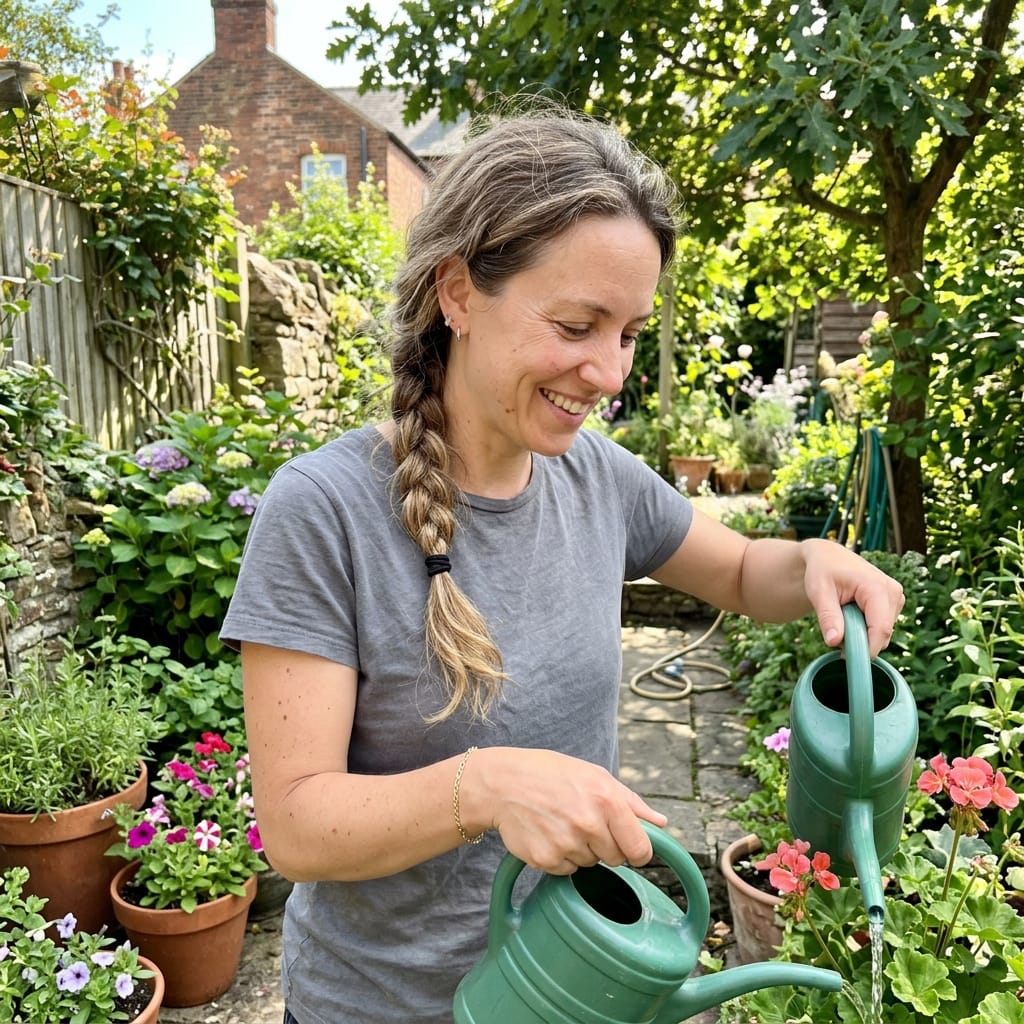
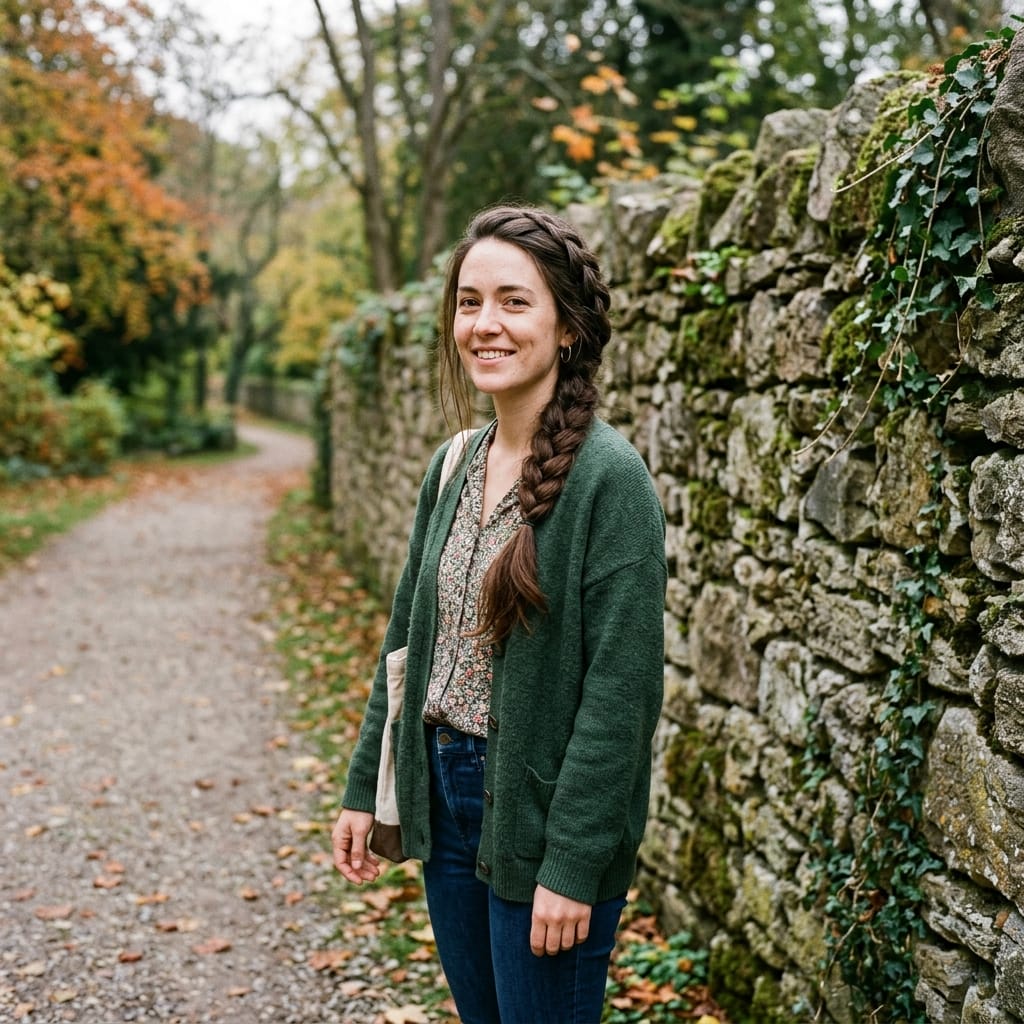
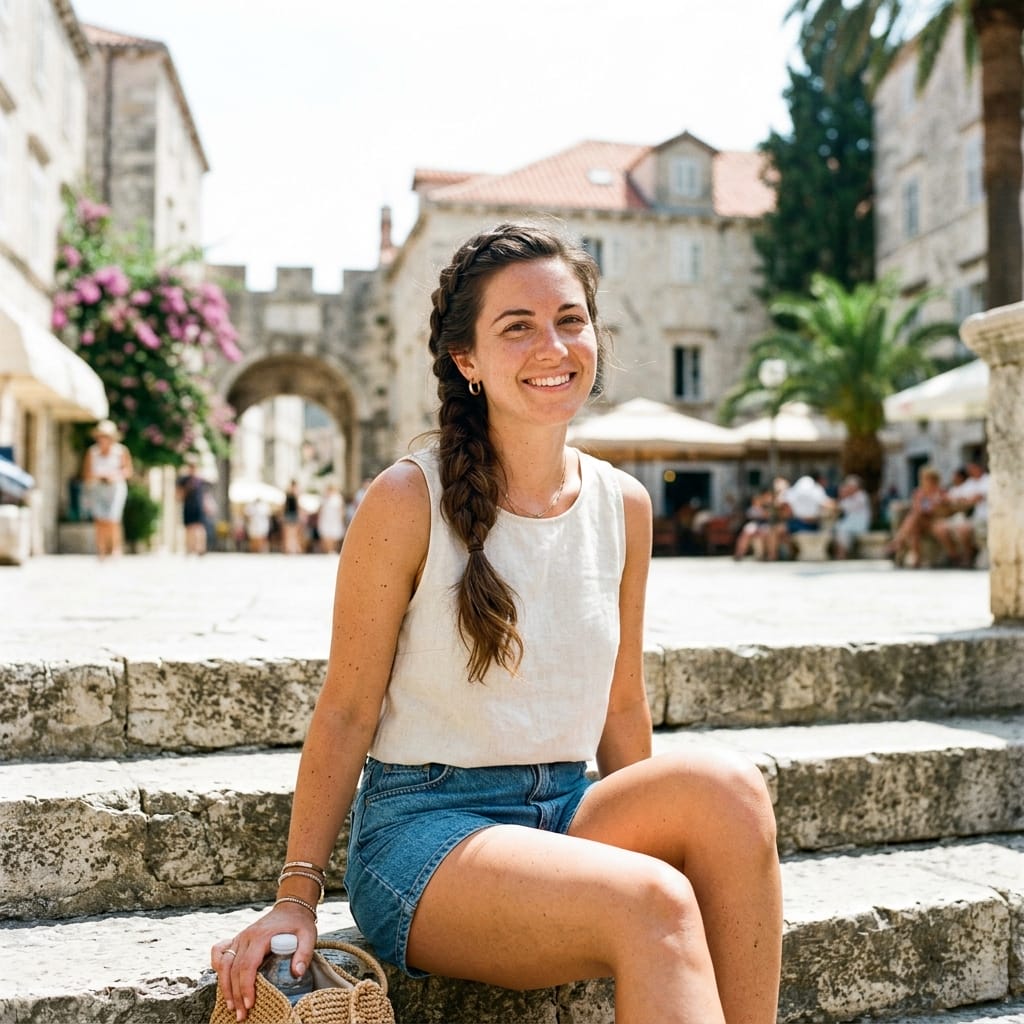
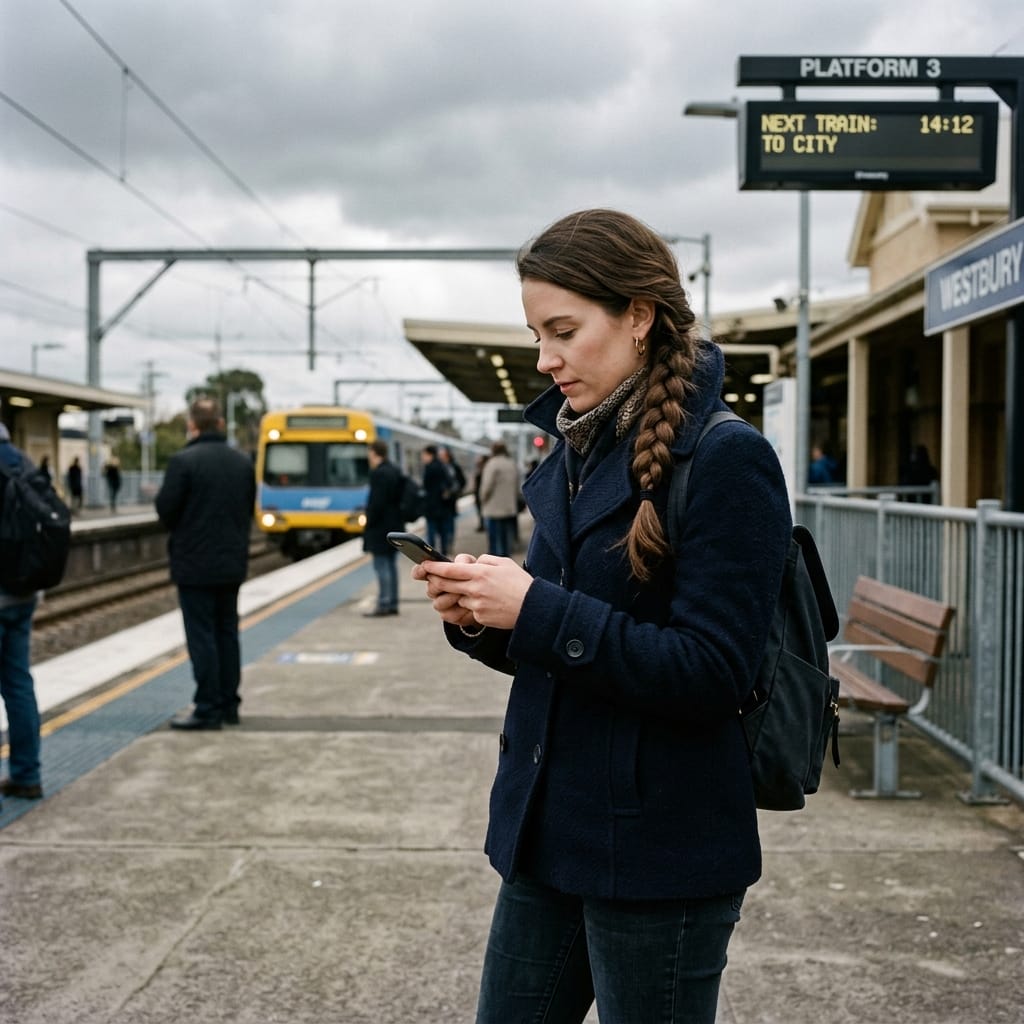
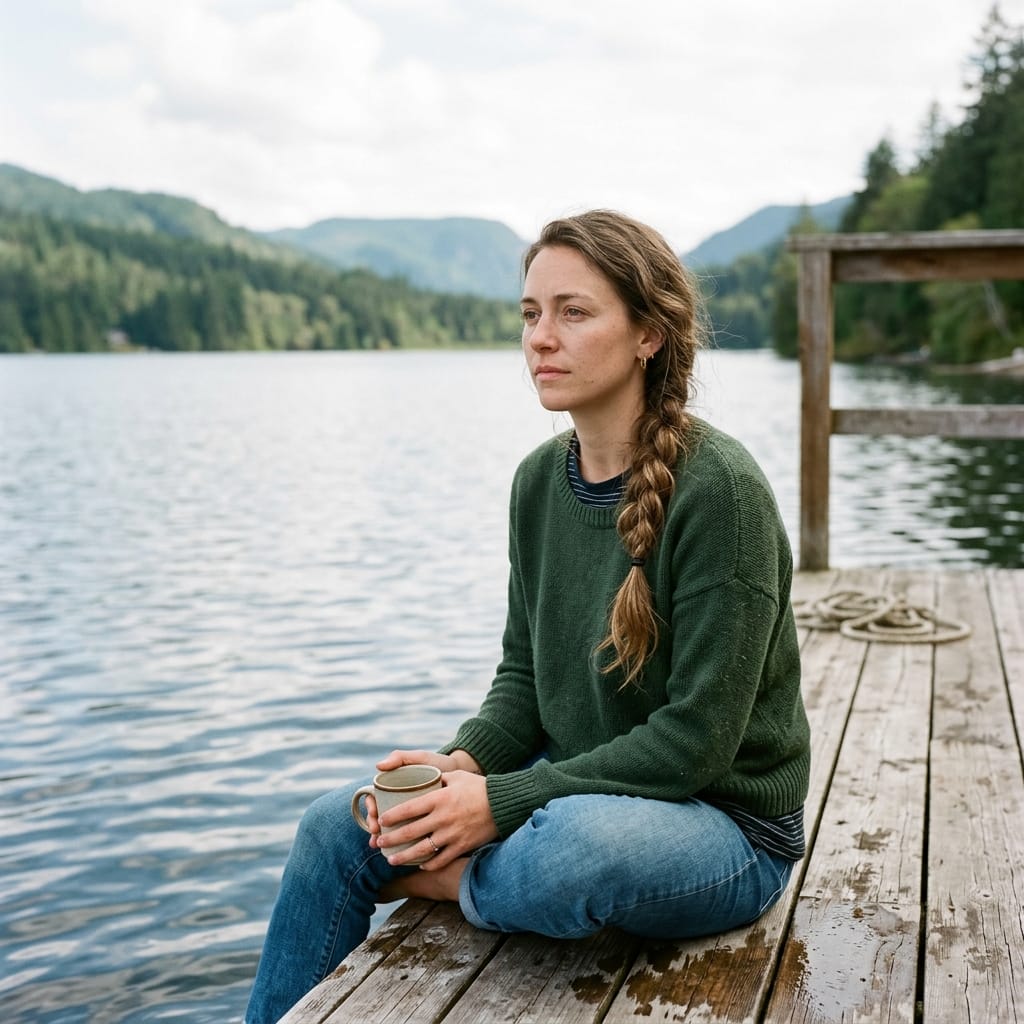
Classic Side Braided Hairstyle: The Ultimate Guide to Asymmetrical Elegance
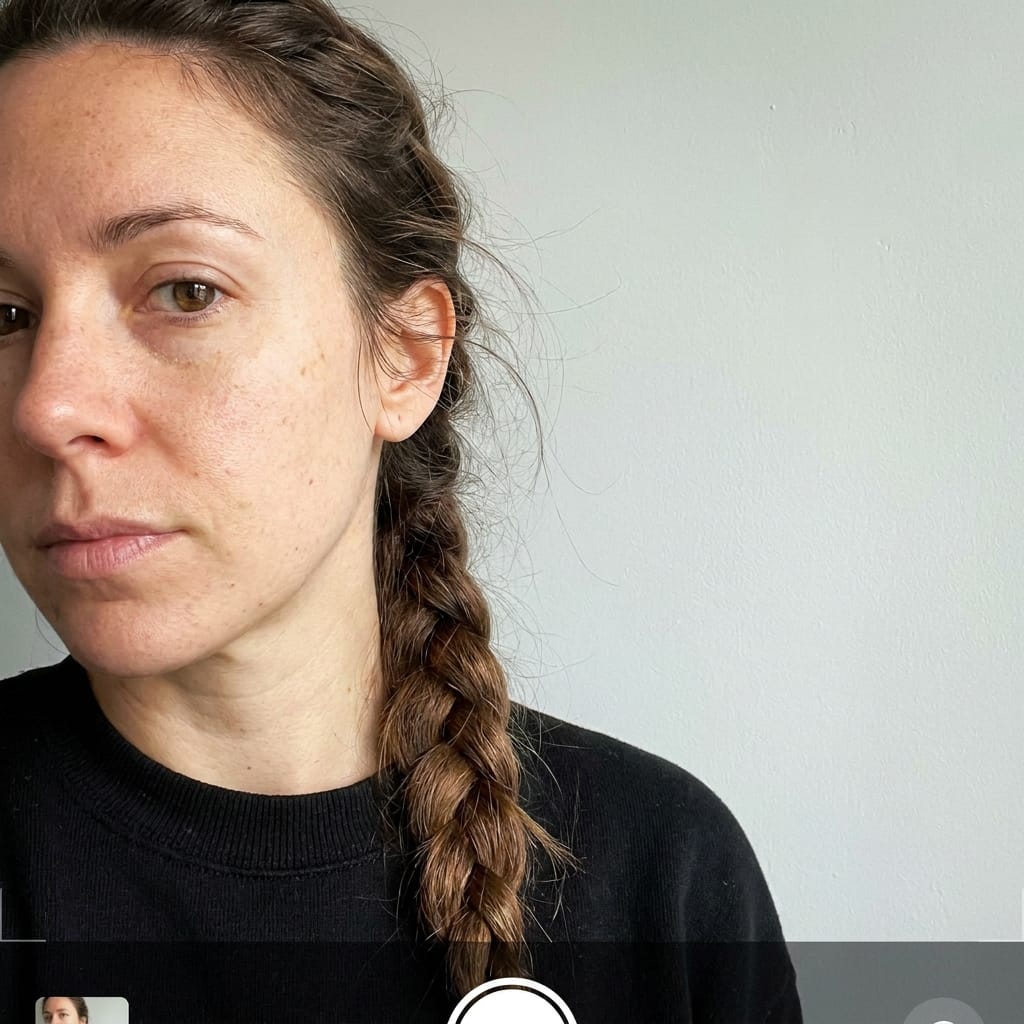
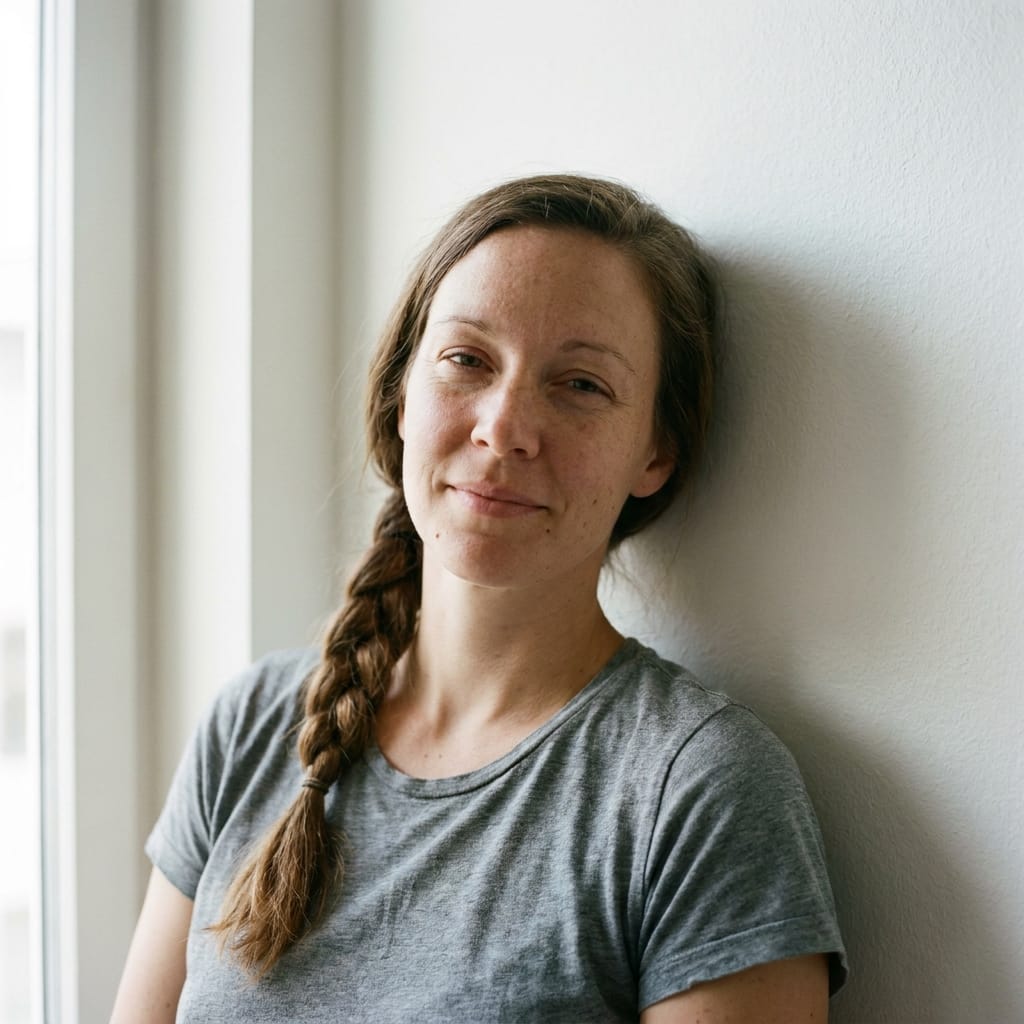
There is a timeless romance built into asymmetrical hairstyles. By shifting the volume, texture, and focus of your hair to one side, you instantly create a striking profile that frames the face, highlights the jawline, and shows off the neckline. Among these styles, the classic side braid stands out as an absolute masterpiece of design. It is a look that manages to feel simultaneously historical and completely modern, channeling a carefree bohemian spirit while remaining sophisticated enough for a formal evening event.
Whether you are heading to a casual brunch, a high-powered business meeting, or a formal gallery opening, mastering the side braid gives you a reliable, stunning hairstyle that keeps your hair secure while maximizing your visual impact.
The Artistic Appeal of Asymmetry
In hair styling, symmetry projects structure and discipline, while asymmetry projects movement, softness, and intrigue. A side-swept braid draws the eye across the face, softening sharp features and creating a beautiful, natural frame.
Enhancing Your Silhouette
When you gather your hair to one side, you expose the opposite shoulder and neck area. This creates a highly flattering silhouette that works beautifully with off-the-shoulder tops, boatneck sweaters, and elegant evening gowns. It breaks up the visual weight of long hair, making your overall appearance feel lighter and more dynamic.
Managing Daily Hair Texture
The classic side braid is an exceptional solution for transitional hair days. When your roots lack the perfect bounce for an open-hair look, or when the ends feel a bit too wild to leave loose, sweeping everything into a structured side plaint completely hides those imperfections, transforming unruly texture into an intentional, stylized asset.
Step-by-Step Variations of the Side Braid
The term “side braid” covers a wide spectrum of techniques. Depending on your personal aesthetic and skill level, you can choose a style that ranges from smooth and polished to loose and textured.
1. The Romantic French Side Braid
This version starts high on one side of the head and gracefully cascades diagonally across the back of the scalp, gathering hair as it moves down before settling over the opposite shoulder.
Mastering the Diagonal French Plait
-
Begin by parting your hair deeply to one side. On the side with more hair, separate a three-inch section near the temple.
-
Divide this section into three equal strands and begin a standard French braid, crossing the outer strands over the middle strand.
-
As you work your way down, move diagonally around the back of your head, continually incorporating small sections of hair from both the top and the bottom.
-
Once you reach the nape of the neck behind the opposite ear, gather all remaining hair and finish with a standard three-strand braid down the length. Secure the end with a clear elastic.
2. The Textured Side Fishtail
For a more intricate, beachy, and modern look, the fishtail braid offers a stunning alternative to the traditional three-strand method. It creates a dense, herringbone-like pattern that looks incredibly detailed.
Crafting the Perfect Fishtail Pattern
Bring all your hair over one shoulder and divide the entire bundle into two large, equal sections. Take a tiny strand of hair from the outer edge of the left section, cross it over the top, and join it to the inner edge of the right section. Next, take a tiny strand from the outer edge of the right section, cross it over, and join it to the left section. Repeat this crossing pattern all the way down, keeping the strands relatively tight.
3. The Dutch Side Braid (The Reverse French)
If you want your braid to pop out dramatically and create a 3D effect, the Dutch braid is your best option. While the French braid crosses strands over the middle, the Dutch braid crosses them underneath. This creates an elevated, ribbon-like braid that sits proudly on top of the hair surface, adding incredible depth and a bold statement to your side profile.
Pro-Tips for Maximizing Braid Thickness
One common frustration with braids is that they can look thin, flat, or lifeless once tied up. Professional stylists use a couple of key tricks to make any braid look twice as thick as it actually is.
The Pancaking Method
Once your side braid is secured at the bottom with a hair tie, never leave it tight. Starting from the bottom of the braid and working your way up, use your thumb and forefinger to gently massage and pull the outer loops of the braid outward. This flattening process, known as “pancaking,” expands the width of the braid instantly, creating the illusion of massive volume and an effortless, lived-in texture.
Pre-Crimping and Volumizing
If you have exceptionally fine or slippery hair, use a texturizing iron or a crimper on the mid-lengths of your hair before you start braiding. The micro-waves created by a crimper add instant structural bulk to the hair strands, preventing the braid from slipping out of place and giving you a much thicker foundation to work with.